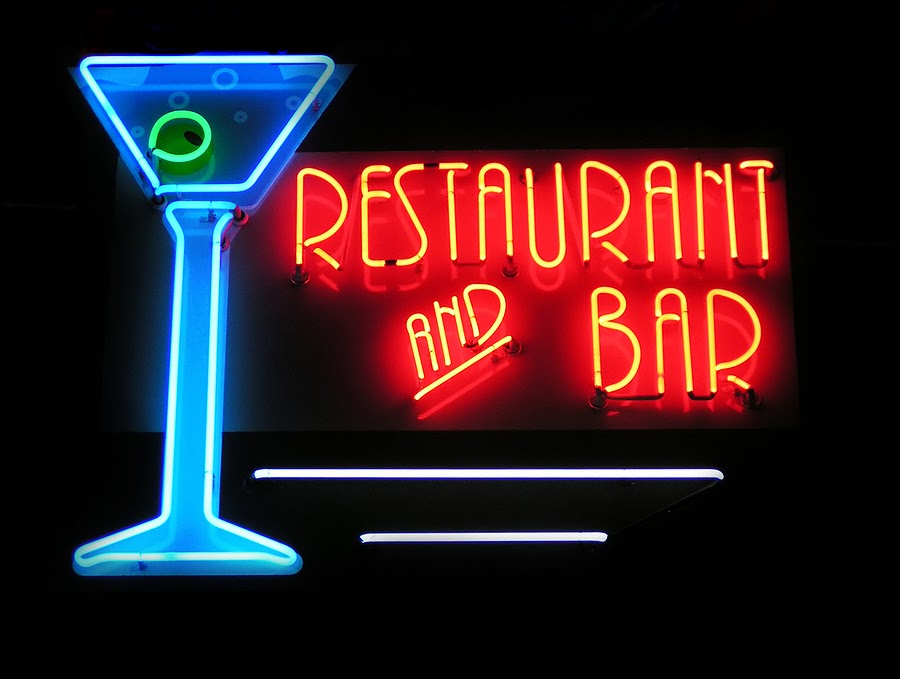
When you want a sign to make a real impact, especially at night, you make it neon. This variety of sign is instantly recognizable– from Route 66 to Las Vegas, it’s deeply rooted in the image of Americana, but the look is also completely timeless and would fit right in on even the most metropolitan city streets today. The process of making neon signs is a fascinating intersection of science and artistry, so let’s take a closer look and appreciate what goes into crafting them.
History
The basic principle of a neon sign is that it’s a glass tube filled with a gas. When an electric current is passed through the gas, the tube glows. Most often this gas is neon, just like the name, but other gasses are sometimes used. In the 19th century, scientists like Heinrich Geissler discovered that passing a high-voltage alternating current through a low-pressure gas sealed in a glass tube would create a light source. Almost all gasses can conduct a current like this and most of them will produce light, but not all of them are able to sustain that light. Common gasses such as carbon dioxide would disrupt the efficiency of the electrodes, causing the light to die quickly.
In 1898, Sir William Ramsay and Morris William Travers discovered the elements neon, argon, krypton, and xenon, and were able to use these gasses in sealed glass tubes to create colored light sources that wouldn’t compromise the efficiency of the electrodes, so these tubes were both vibrantly colored and could sustain their light. Neon gas would produce a bright reddish-orange color, while argon gas created a grayish-blue or violet.
The process of distilling argon and neon remained very expensive and inaccessible for a while, but in 1907 Georges Claude of France and Karl von Linde of Germany were working on a process to distill oxygen for hospitals, and found that these rare gasses were a byproduct of the process. Claude went looking for a way to utilize these gasses, and building on the work of Ramsay and Travers, he started promoting lighted neon signs, even showing one at an exposition in Paris in 1910. By 1912, he had made his first commercial installation, and by 1915, he was doing well enough to start a business and sell franchises.
In 1923, Los Angeles car dealer Earle C. Anthony bought two of Claude’s signs for his Packard dealership and brought neon to the United States. Slowly but surely the signs grew in popularity, hitting the Las Vegas Casinos in the 1940s, but during the 50s and 60s, true neon signs took a hit when plastic signs illuminated from within using fluorescent tubes became more prominent. In recent years, however, neon has been making more of a comeback, and can be found in many more places.
How Is It Made?
Manufacturing neon signs starts with the tubing. Long glass tubes are cleaned and placed in a machine that blows a liquid phosphor suspension upwards into the tubes and lets it drain back down to coat them. The tubes then dried in an oven. If a tube is going to be a color other than red, orange, or blue, color tints are added to them in a similar manner to the coating machine. Red and blue tubes can be left clear since the neon and argon gasses will produce these colors on their own.
Then, the tubing needs to be bent into shape, so a full-size template of the design is laid out on a heat-resistant sheet of asbestos and the tubing is carefully heated and softened with burners. Each tube is bent by hand to match the template, and the tube benders can’t wear protective gloves since they need to be able to feel the heat and softness of the glass to be able to make the bend at just the right moment. Since there is a risk of the softened tubing collapsing in on itself, a short flexible hose called a blow hose is attached to one end of the tubing, and the tube bender gently blows into the hose to get the still-warm tubing back to its original diameter.
The tubing then needs to go through a process called bombarding to remove any impurities. The tube will be heated while a vacuum extracts all the air inside. If this process was skipped, the tube would not be able to hold its light for very long. After the tubes cool down, they are filled with purified gas and sealed. If argon gas is used, typically a small amount of mercury is added to improve the intensity.
The finished tube, now full of its intended gas, then has to go through an aging process that is sometimes called “burning in the tube.” This lets the gas stabilize and operate correctly. A transformer is attached to the electrodes and runs a current through the tube that is typically a little stronger than the one the sign will run on, and is left to glow for a while. For neon gas, the tube needs to be at full illumination for about 15 minutes, but if argon is used, it might be as long as several hours. Any problems observed during this process, such as a flicker or a hot spot, mean that the tubing needs to be opened, bombarded, and filled again.
Once this step in the process is completed, the sign is ready to be mounted! Depending on the size, installing the supports and wiring can be quick and simple or very complex, and large signs can take up to several months to install, but the luminous and colorful glow of a classic neon sign is more than worth the wait!


